
Table of Contents
- Why Proper Winter Bike Storage Matters
- Step 1: Pre-Storage Maintenance (Clean, Dry, Protect)
- Choosing the Right Storage Location
- Step 3: Position Your Bike (Hanging Vs. Standing)
- Step 4: Cover & Protect Your Bike
- Step 5: Optional Component Removal
- Step 6: Monthly Winter Check-Ins
- Step 7: Spring Readiness Checklist
- Store Your Bike for Great Riding Next Season
- FAQs
As the days grow shorter and the temperatures drop, cyclists need to determine their bike storage strategy for winter. However, storing your bike in a corner can lead to rust, flat tires, corroded chains, and costly repairs when warm weather returns.
This winter bike storage guide walks you through the step-by-step process of cleaning, preparing, and storing your bike, ensuring it stays protected throughout the winter and is ready to ride when spring arrives.
Why Proper Winter Bike Storage Matters
Taking the time to store your bike correctly over the winter offers significant benefits that extend far beyond simply keeping it out of the way. What exactly are these advantages, and why should you prioritize proper storage?
Protecting Your Investment
Bicycles are valuable machines that need care.
Exposure to cold, moisture, or fluctuating temperatures can:
Rust metal parts
Crack tires and seals
Damage paint and plastic components
A well-stored bike retains value, avoids expensive repairs, and lasts longer.
Ensuring Spring Readiness
Skip the frustration of seized cables, flat spots, or corroded chains.
With proper storage, your spring “tune-up” becomes simple: inflate tires, check brakes, and ride.
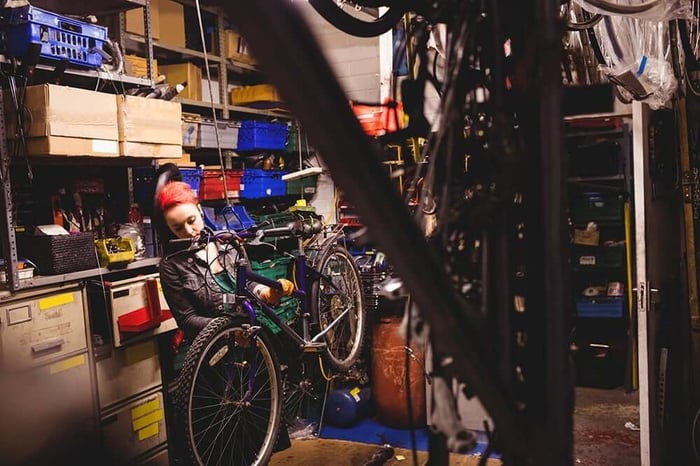
Step 1: Pre-Storage Maintenance (Clean, Dry, Protect)
Before storage, give your bike a thorough prep:
Clean completely
Scrub off any dirt, grime, or road salt. It can be corrosive and abrasive if left on.
Wash frame, wheels, derailleurs, chain, and drivetrain with mild soap or a bike-specific cleaner.
Rinse well and dry thoroughly (towel, warm air, or low-pressure blower).
Lubricate & protect after drying
Apply dry lube to the chain, then wipe off excess.
Lightly coat bolts, quick releases, and exposed metal with silicone spray or anti-corrosion spray. Wipe off excess to prevent attracting dust.
Wax/polish the frame for an extra protective layer.
Inflate tires
Pump to max PSI (check sidewall) to reduce risk of flat spots.
Consider lifting the bike to keep weight off the tires.
Consider periodically rotating the wheels if standing.
Inspect components
Check brake pads, chain wear, cable condition, shifter cables, and tire tread.
Look for cracks, dents, and loose bolts and fix before putting into storage.
In short: clean, dry, lubricated, and inflated — your bike is ready to hibernate.
Choosing the Right Storage Location
Where you store your bike matters as much as how. There are many different bike storage solutions, including:
| Storage Location | Pros | Cons |
| Inside Your Home | Stable temperature, dry, pest-free | Requires indoor space |
| Heated Garage/Basement | Good protection if heated & well-ventilated | Risk of humidity if not dehumidified |
| Climate-Controlled Storage Unit | Professional protection, frees up home space | Cost of rental, availability |
| Outdoor/Damp Shed | Minimal Effort | Rust, humidity, pests, major damage risk |
Q: What’s the best place to store a bike in winter?
A: The best option is indoors in a stable, dry environment — like a heated garage, basement, or climate-controlled storage unit. These spaces prevent rust, tire cracking, and damage from humidity.
What Storage Solutions to Avoid
Outdoor Storage: Never store your bike outdoors, even under a cover. The elements will invariably cause damage.
Unheated, Damp Sheds or Garages: These environments are notorious for high humidity and temperature swings, perfect conditions for rust and deterioration.
Areas Prone to Flooding: Basements or garages that flood are obviously unsuitable.
Step 3: Position Your Bike (Hanging Vs. Standing)
Once cleaned and prepped, and you've chosen the perfect spot, how should you physically store your bike?
| Storage Method | Pros | Cons |
| Hanging | Saves space, relieves the pressure off tires and components | Requires installation, may limit access |
| Standing | Simple, easy to move | Takes floor space, will need to rotate wheels to prevent flat spots |
You’ll want to consider the size of your storage space. It’ll help you determine if you have room for a bike stand or need to use a hanging bike method.
Either storage method works, but we recommend hanging to preserve your tires better.
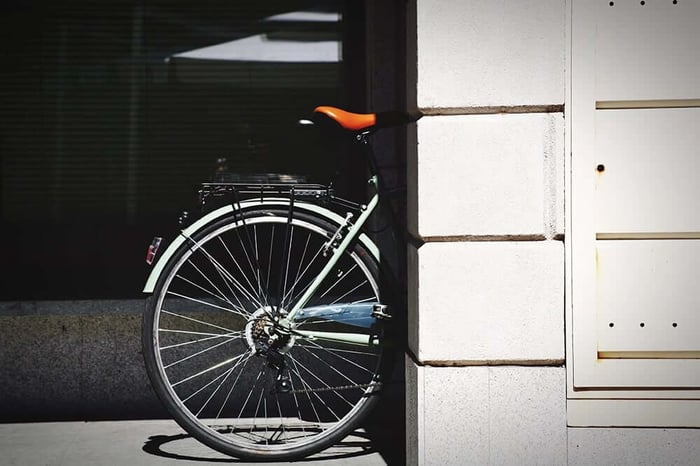
Step 4: Cover & Protect Your Bike
A bike cover will provide an additional layer of protection. A few pro tips?
Use a breathable bike cover (cotton, canvas, or specialty material)
Avoid plastic sheets - they’ll trap condensation and cause moisture build-up
Choose a cover that will block out UV light
Q: Do I need a special cover for winter bike storage?
A: Yes. Use a breathable cover made from cotton, canvas, or a fabric specifically designed for bikes. Avoid plastic tarps, as they can trap condensation and cause rust or mold.
Step 5: Optional Component Removal
For long-term storage, you may want to consider removing:
Wheels: Make sure to protect the brake rotors and hang the wheels. For hydraulic disc brakes, insert a brake pad spacer. This will prevent the pistons from closing if the lever is accidentally squeezed.
E-bike Batteries: Remove the battery for winter storage. Store the battery separately at a moderate temperature. Ensure the battery is stored at a 40-60% charge.
Pedals: Removing pedals will make the bike flatter if stored against a wall.
Step 6: Monthly Winter Check-Ins
Even while your bike is in storage, it's beneficial to check on it periodically, especially if stored in an area prone to environmental changes.
Monthly Check: Aim for a quick check every month or two.
Tire Pressure: Re-inflate tires if they've lost pressure.
General Condition: Look for any signs of rust, dampness, or pest activity.
Electric Bike Battery: If you removed your e-bike battery, check its charge level and top it up to the recommended 40-60% if it drops too low, following manufacturer guidelines.
Step 7: Spring Readiness Checklist
When winter finally recedes and the days lengthen, you'll be eager to ride again. Because you followed proper storage protocols, getting your bike ready will be quick and easy.
Remove Cover and Reinstall Components: Take off the cover and reattach any components you removed (wheels, pedals, e-bike battery). Remember to remove any brake pad spacers.
Inflate Tires: Inflate your tires to your preferred riding pressure.
Basic Safety Check (M-Check): Perform a quick M-check:
Mirrors/Handlebars: Check stem bolts, handlebar alignment, and grip security.
Wheels: Check quick releases or thru-axles are secure. Spin wheels to check for wobbles or rubbing brakes.
Chain: Check chain tension and alignment.
Brakes: Squeeze brake levers to ensure they are firm and responsive. Check pad wear.
Gears: Cycle through all gears to ensure smooth shifting.
Lubricate Moving Parts: Apply a fresh coat of chain lube and wipe off any excess. Check that derailleurs and brake pivots move freely.
Test Ride: Take a short, cautious test ride to ensure everything feels right before heading out on a longer adventure. Listen for unusual noises and check the brake and gear function.
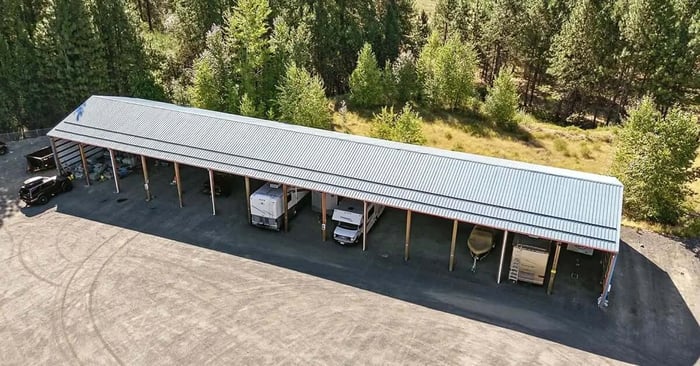
Store Your Bike for Great Riding Next Season
For cyclists who need extra space, Storage Star offers secure, flexible bike storage solutions nationwide. With month-to-month leases, you can store your ride just for the winter or any period of time. A 5×5 or 5×10 unit is ideal for one or two bikes and gear, while a 10×10 or larger unit is suitable for multiple bikes or additional equipment.
Our convenient locations across the country, along with options for climate-controlled spaces, make it easy to keep your bike protected until spring. Find a Storage Star location near you and get started today.
FAQs
What’s the best way to store my bike for the winter?
The best way to store your bike in winter is to clean it thoroughly, lubricate the chain and metal parts, inflate the tires, and place it in a dry, climate-controlled environment. Covering your bike with a breathable fabric adds extra protection.
Should I remove my e-bike battery for winter storage?
Yes. Always remove your e-bike battery before winter storage. Store it indoors at room temperature, ideally between 50–68°F, and keep the charge level around 40–60% to extend its lifespan.
Is it OK to store my bike in a garage or shed?
Only if the space is heated, dry, and well-ventilated. Damp or unheated garages and sheds expose bikes to rust, corrosion, and fluctuating temperatures that can damage tires and cables.
Do I need to cover my bike in storage?
Yes, a breathable cover is recommended to protect your bike from dust, UV light, and scratches. Avoid plastic tarps, which trap condensation and encourage rust.
What size storage unit do I need for a bike?
A 5×5 or 5×10 storage unit is ideal for one or two bikes with gear. If you have multiple bikes, e-bikes, or extra cycling equipment, consider a 10×10 or larger unit for more room.